The bike industry sells stiffness as speed, but for amateur endurance riders, the opposite is often true: comfort is the real performance enhancer.
- Ultra-stiff soles offer negligible power gains (often under 2 watts) for non-elite cyclists, a benefit easily erased by discomfort.
- They can increase fatigue by directly transmitting road vibration and create pressure « hot spots » that end long rides prematurely.
Recommendation: Prioritize fit and vibration damping. A quality nylon sole with the right insoles is often a faster, smarter choice over 100 miles than a poorly-fitting, overly-stiff carbon race shoe.
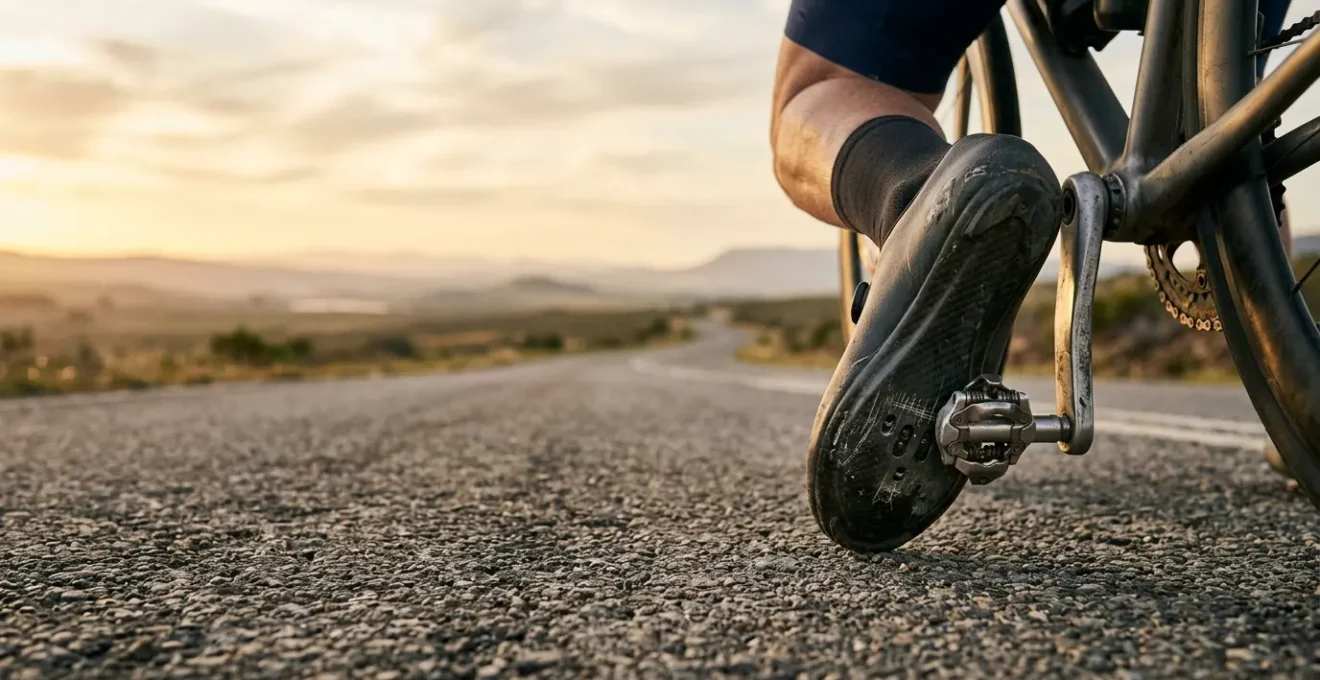
You’ve signed up for the big one: a 100-mile charity ride. Training is underway, but a crucial question looms in the local bike shop. You’re staring at a wall of cycling shoes, from budget-friendly nylon models to gleaming, feather-light carbon race shoes that cost a small fortune. The marketing, the pros, and a nagging voice in your head all whisper the same thing: « stiffer is better. » The logic seems sound—every watt of power you generate should go directly to the pedal, not be lost in a flexing sole.
This relentless pursuit of stiffness has become the dominant narrative in cycling footwear. We’re told that a high stiffness index is the key to efficiency and speed. But what if this is a red herring for the amateur endurance rider? For someone whose goal isn’t a 20-second sprint finish but surviving and thriving over five, six, or even seven hours in the saddle, the equation changes. The real enemy isn’t a marginally flexible sole; it’s the cumulative toll of discomfort, vibration, and pressure points. It’s the « hot foot » that starts at mile 60 or the numb toes that plague you up the final climb.
This article challenges the « stiffness-is-king » mantra. We will adopt the perspective of a pragmatic equipment advisor, cutting through the marketing hype to focus on what truly matters for your long-distance goals. Instead of fixating on a single, often misleading number, we’ll explore the real-world trade-offs of hyper-stiff soles, from off-bike safety to the bone-rattling reality of rough road surfaces. We will deconstruct the myth, analyze the true sources of fatigue, and reveal where your money is better spent to ensure you cross that 100-mile finish line with a smile, not a grimace.
Contents: Carbon Soles vs. Amateur Rider Comfort
- Index 12 vs 6:Is Buying a Cheap Carbon Frame Worth the Risk on UK Roads?
- Coffee Shop Slip: How Dangerous Are Race Soles Off the Bike?
- Road Buzz: Do Stiff Soles Cause Fatigue on Rough British Tarmac?
- Sole Vents: Do They Actually Cool Your Feet or Just Let Water In?
- Scratched Soles: Does Walking on Gravel Weaken the Carbon Matrix?
- Cleats Too Far Forward: How This Error Causes Numb Toes?
- £300 for 2 Watts: Is a Clean Chain a Better Investment?
- Arch Support Insoles: Do Custom Moulds Cure « Hot Foot » on 50-Mile Rides?
Index 12 vs 6:Is Buying a Cheap Carbon Frame Worth the Risk on UK Roads?
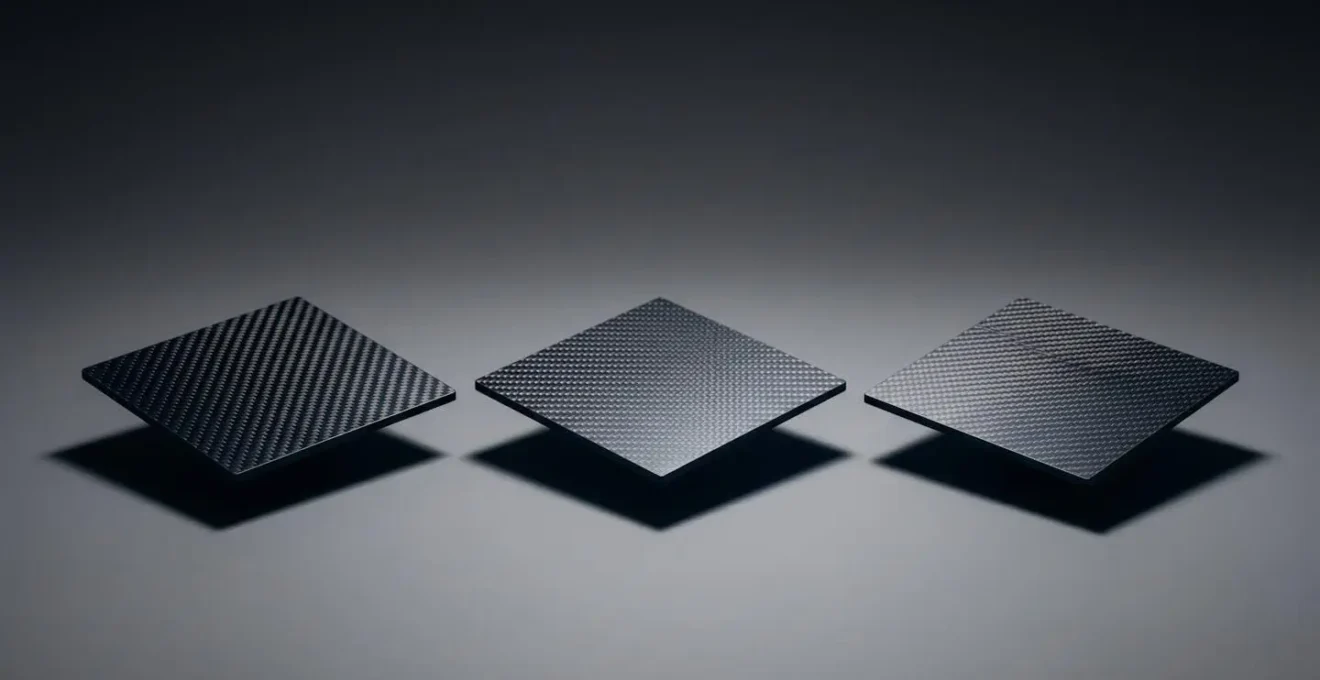
The first thing you’ll notice when shopping for high-end cycling shoes is the « Stiffness Index, » a number brands use to quantify how much a sole resists flexing. A shoe with an index of 12 or 14 is marketed as a pinnacle of performance, while a nylon or composite sole might sit around a 6 or 8. The implication is clear: more stiffness equals more power. However, for an amateur rider, this number is one of the most effective, and misleading, marketing tools in the industry. It creates a perceived need that doesn’t align with physiological reality.
The truth is, the actual power difference is astonishingly small. Rigorous scientific testing has repeatedly shown that for non-elite cyclists, the gains are functionally zero. In fact, one of the most comprehensive studies on the topic found a total difference of just 0.6 watts between the least stiff and the stiffest cycling shoe tested. This is a gain so minuscule it would be undetectable outside a laboratory, and easily negated by the slightest discomfort over a long ride. The lead researcher of a landmark study at the University of Colorado Boulder’s Department of Mechanical Engineering was even more direct in his findings:
We found no difference in performance between less stiff and stiffer road cycling shoe soles during short uphill sprints in recreational/competitive cyclists.
– Rodger Kram, University of Colorado Department of Mechanical Engineering Study
This exposes the stiffness index for what it often is: a proprietary, non-standardized metric that is brilliant for marketing but a poor guide for an amateur’s purchase. The real performance gains for your 100-mile ride lie not in chasing a higher index number, but in finding a shoe that offers all-day comfort and support.
Coffee Shop Slip: How Dangerous Are Race Soles Off the Bike?
The focus on on-bike performance completely ignores a critical, and potentially hazardous, part of any long ride: the moments you’re off the bike. A 100-mile charity ride isn’t the Tour de France. It involves feed stops, bathroom breaks, and the all-important mid-ride coffee and cake stop. It’s in these moments that the sleek, uncompromising design of a carbon race sole reveals its most dangerous flaw: it has virtually zero grip. The exposed plastic cleat and smooth, hard carbon create a treacherous combination on smooth, tiled, or wet floors.
That awkward, duck-like waddle to the counter isn’t just embarrassing; it’s a genuine safety hazard. A slip can easily lead to a bruised hip, a twisted ankle, or worse—a fall that ends your ride and possibly damages your expensive bike. For an amateur rider, whose bike handling skills may not be as honed for walking in cleats, this is a significant risk. Cheaper nylon or composite soles often feature more substantial rubber or TPU (thermoplastic polyurethane) walking pads around the cleat area, offering a far more secure footing. For those committed to carbon soles, cleat covers are not an optional accessory; they are an essential piece of safety equipment.
Here are the most common options for making your race shoes walkable:
- SPD-SL Cleat Covers: These are simple, pop-on rubber covers you carry in a jersey pocket. They provide excellent grip on smooth surfaces and are the standard for three-bolt road cleats.
- Look Keo Grip Cleats: This design integrates small rubber pads directly into the cleat itself. They are more convenient than separate covers but the rubber wears down with use.
- Speedplay Walkable Cleats: These feature a rubberized cover that stays on the cleat even while riding, offering the most convenience at the cost of slight extra weight and expense.
- Kool Kovers: A popular aftermarket brand known for its very rubbery material, providing maximum traction on wet or slippery floors, highly recommended for SPD-SL users.
Choosing a shoe shouldn’t just be about pedaling efficiency. For a long, social event, considering off-bike stability is a pragmatic decision that prioritizes finishing the day safely and without incident.
Road Buzz: Do Stiff Soles Cause Fatigue on Rough British Tarmac?
While the marketing focuses on power transfer, it conveniently ignores the other energy transfer: vibration from the road surface. Think of a stiff carbon sole as the chassis of a track car with rock-solid suspension. It’s incredibly efficient on a perfectly smooth surface, but on the real-world, often poorly maintained roads—like the notoriously rough British tarmac—it transmits every single bump, crack, and imperfection directly into your foot. This constant, high-frequency vibration is a primary contributor to what cyclists call « road buzz, » and it’s a major cause of fatigue.
Over the course of 100 miles, this incessant vibration takes a toll. It causes muscles in your feet, ankles, and calves to work overtime to damp the vibrations, leading to premature fatigue, cramping, and the dreaded « hot foot » sensation. A slightly more flexible nylon or composite sole, by its very nature, absorbs a small amount of this vibration, acting as a micro-suspension system for your feet. This tiny bit of flex, often derided as power loss, is actually a crucial comfort and endurance feature. As biomechanical footwear research confirms, composite materials with damping properties can significantly reduce the impact forces that travel up the kinetic chain to the knees and ankles.
For an amateur rider, mitigating this « vibration fatigue » is far more important for performance than chasing the last 0.6 watts of stiffness. Fortunately, there’s a clear hierarchy of solutions to combat road buzz, and changing your shoes is often the last and least effective one:
- Primary Defense: Use wider tires (28mm or more) at lower pressures (70-80 PSI). This is the single most effective way to improve comfort, as the tire absorbs road irregularities before they even reach the bike frame.
- Secondary Defense: Invest in high-quality padded bib shorts. A multi-density chamois designed for endurance is critical for comfort over long distances.
- Tertiary Defense: Consider specialized insoles with vibration-damping inserts like Poron, which create a buffer between your foot and the stiff sole.
- Last Resort: A slightly thicker cycling sock with targeted padding can provide a final layer of damping.
When you look at this list, it becomes clear that a hyper-stiff sole is working against your primary comfort solutions. It actively negates the benefits of a more compliant setup. For endurance riding on imperfect roads, a sole with a little give isn’t a weakness; it’s a strategic advantage.
Sole Vents: Do They Actually Cool Your Feet or Just Let Water In?
Another feature often touted on high-end carbon shoes is the integrated sole vent. The theory is that these small holes, usually positioned under the toe box, allow air to circulate, cooling your feet on hot days and preventing swelling. In practice, the effectiveness of these vents is highly debatable and brings with it a significant, often overlooked, downside for riders in temperate or unpredictable climates.
On a truly scorching hot day, a well-designed vent can provide a noticeable cooling effect. However, that same vent becomes a major liability in any other condition. For a 100-mile ride in a place like the UK, where a sunny start can quickly turn into an afternoon shower, these vents act as a direct funnel for water. Hitting a single puddle can instantly soak your sock from below, leading to a miserably cold and squelchy experience for the rest of your ride. Even on a cool, dry day, the constant airflow can make your feet uncomfortably cold, especially at the start of an early morning ride.
The « pro » solution is to own multiple pairs of shoes for different weather conditions, or to painstakingly tape over the vents from the inside for wet or cold rides. For the pragmatic amateur, this adds an unnecessary layer of complication. Often, a shoe with a solid, unvented sole and a breathable upper material offers a more versatile and practical solution for all-round riding. If you do find yourself with vented shoes on a day with a chance of rain, you can use this simple pro-level hack:
- Remove the factory insole to get access to the inside of the sole.
- Cut small pieces of strong electrical or duct tape, slightly larger than each vent opening.
- Carefully apply the tape to the interior surface of the sole, ensuring each vent is completely covered from the inside.
- Replace the insole, which will hold the tape securely in place during your ride.
- After the event, you can simply peel the tape off, restoring ventilation for your next hot-weather ride.
Ultimately, sole vents are a highly specialized feature. Unless you ride exclusively in hot, dry climates, they often create more problems than they solve for the everyday endurance cyclist.
Scratched Soles: Does Walking on Gravel Weaken the Carbon Matrix?
A common fear among prospective carbon sole owners is durability. After spending hundreds of pounds on a pair of shoes, the first time you hear the crunch of walking on a gravel path or see a deep scratch appear on that pristine carbon weave can be heart-wrenching. It’s natural to wonder if this cosmetic damage could compromise the structural integrity of the sole, potentially weakening the very stiffness you paid a premium for.
For the most part, this fear is unfounded. A high-quality carbon sole is an incredibly robust piece of engineering. It’s made from multiple layers of carbon fiber fabric, impregnated and bonded together with a tough epoxy resin. The visible top layer is often a cosmetic weave, while the structural strength comes from the unidirectional layers beneath. That glossy or matte finish on the outside is a protective layer of resin. Scratches on this surface are almost always purely cosmetic and have no impact on the sole’s strength or stiffness. It would take a very significant, deep gouge or a direct, sharp impact—like a crash—to cause structural delamination.
However, if you do have a major impact or are concerned that your shoes have lost their responsiveness, there is a simple diagnostic you can perform at home. This « tap test » is used in the composites industry to detect internal damage or delamination that isn’t visible to the naked eye.
Your 5-Step Carbon Sole Health Check
- Preparation: Remove the insole and the cleat hardware from the shoe to get access to the bare carbon sole surface, both inside and out.
- Tool Selection: Use a coin, like a 25-cent piece or a £1 coin, to gently tap across the entire area of the sole in a grid-like pattern.
- Auditory Analysis: Listen carefully to the sound. Healthy, solid carbon will produce a consistent, sharp ‘tick’ or ‘ping’ sound across all areas.
- Identify Anomalies: Be alert for any areas that produce a dull ‘thud’ or a dead-sounding noise. This change in tone can indicate a potential internal delamination or a compromised carbon matrix.
- Focus on High-Stress Zones: Pay special attention to the areas that experience the most stress: the zone around the cleat mounting bolts, the area under the ball of the foot, and the heel strike area.
If you detect inconsistent sounds, especially in high-stress areas, it’s wise to consider a professional inspection or, for peace of mind on a critical ride, shoe replacement. But for the everyday scratches and scuffs from walking, you can rest assured that your carbon sole is much tougher than it looks.
Cleats Too Far Forward: How This Error Causes Numb Toes?
While we’ve focused heavily on the sole itself, the single most important factor for comfort and performance is not the shoe’s material, but the position of the cleat. An incorrect cleat position, even by a few millimeters, can completely undermine the most expensive shoe and is the number one cause of foot pain and numb toes on long rides. The most common error amateurs make is placing the cleat too far forward.
This forward position places the pedal axle directly under your toes, concentrating immense pressure on the small, sensitive metatarsal nerves and blood vessels that run between the bones in the ball of your foot. On a 100-mile ride, involving tens of thousands of pedal strokes, this constant pressure compresses the nerves, leading to that tell-tale tingling, numbness, and eventual pain. It’s like standing on a single rung of a ladder for hours—the focused pressure becomes unbearable.
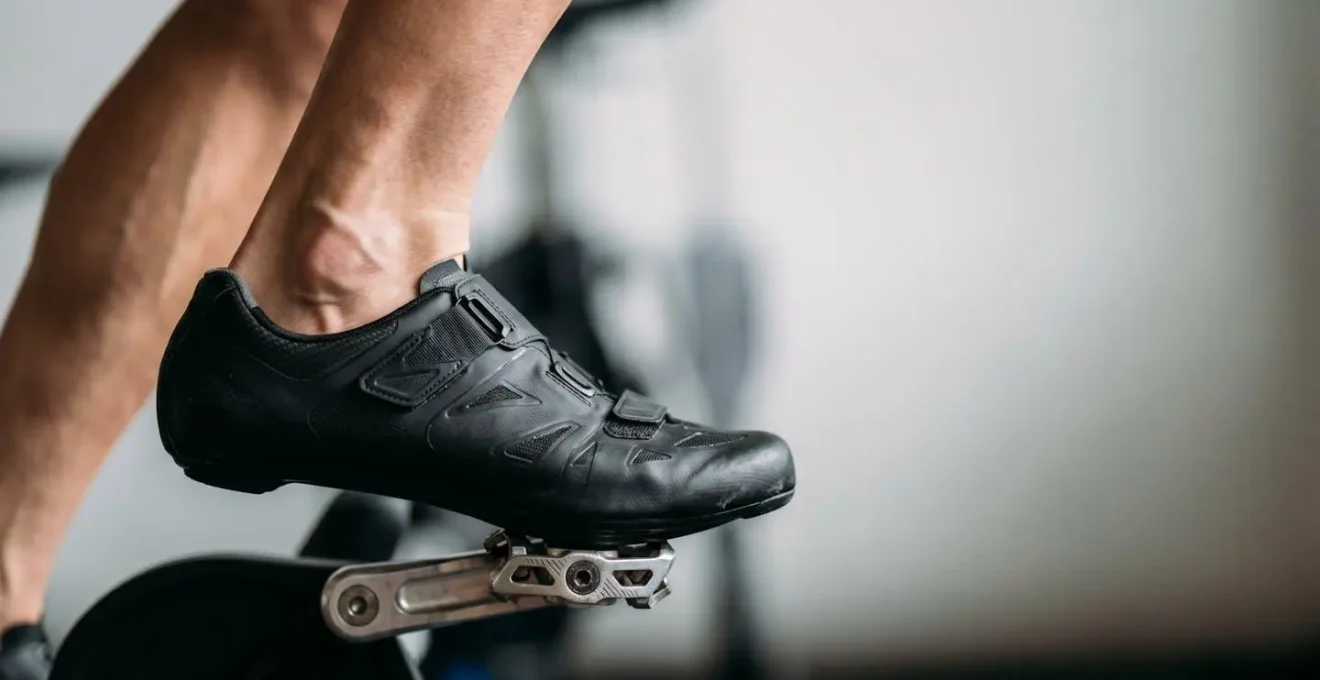
The correct approach is to position the cleat further back, so the pedal axle sits behind the ball of the foot, distributing the pressure over a wider, more robust area. This « neutral » position engages the larger bone structure of the foot rather than the delicate nerves. Finding this position is a cornerstone of any professional bike fit, but you can find a solid starting point at home with this simple guide:
- Locate Landmarks: While standing barefoot, feel for the bony prominence behind your big toe (the first metatarsal head) and the one behind your little toe (the fifth metatarsal head). Mark these two points on the side of your foot.
- Transfer Marks: Put on your cycling shoe and transfer these marks to the outside of the shoe’s upper material.
- Align the Cleat: Attach the cleat to the shoe. The goal is to position it so that the center of the pedal axle (which is usually marked on the cleat itself) sits directly on, or slightly behind, the line connecting the two marks you made.
- Refine: This provides a neutral starting point. You may need to make small adjustments (1-2mm at a time) based on your personal comfort during a ride.
Before you even consider spending money on carbon soles for « performance, » ensuring your cleats are correctly positioned is the most powerful—and free—upgrade you can make. It’s the foundation of biomechanical harmony and all-day riding comfort.
Key takeaways
- The power gain from stiff carbon soles (often less than 2 watts) is negligible for amateurs and irrelevant over long distances.
- Comfort is the primary performance metric for endurance riding; fatigue and pain from stiff shoes will negate any marginal power benefit.
- Smarter investments for an amateur rider include a professional bike fit, quality insoles, and better vibration damping, not a higher stiffness index.
£300 for 2 Watts: Is a Clean Chain a Better Investment?
Let’s put the carbon sole debate into a pragmatic, financial context. A high-end pair of carbon race shoes can easily cost over £300, promising a « performance gain » that, as we’ve seen, amounts to perhaps 1-2 watts at best. As an equipment advisor, my role is to ask: is this a sensible investment? To answer that, we need to look at the « cost-per-watt »—what you pay for each watt of saved energy. When viewed through this lens, expensive carbon shoes are one of the worst value-for-money upgrades in cycling.
Consider this: research on cycling drivetrain efficiency demonstrates that simply cleaning and properly lubricating your chain can save between 5 and 10 watts of power that was being lost to friction. The cost of a bottle of high-quality lube and some degreaser? Around £20. The cost-per-watt for that investment is astoundingly low compared to the triple-digit price tag for a carbon sole’s questionable 2-watt gain. This principle extends to many other areas of cycling equipment and preparation.
To truly understand the value proposition, let’s compare the cost and benefit of several common upgrades for an amateur endurance rider. The following table provides a stark illustration of where your money yields the biggest returns, not just in watts but in overall ride quality and injury prevention.
| Upgrade Investment | Approximate Cost (£) | Power Savings (Watts) | Cost Per Watt (£) | Reliability Impact |
|---|---|---|---|---|
| Stiffness Index 12 Carbon Shoes | £300 | 0.6-2 | £150-£500 | Neutral |
| Quality Chain Lube + Cleaning Kit | £15-£25 | 5-10 | £2-£5 | High – Prevents mechanical failure |
| Professional Bike Fit | £150-£250 | 15-30 (position optimization) | £5-£17 | High – Reduces injury risk |
| High-Quality Bib Shorts | £100-£180 | N/A (comfort gain) | N/A | Medium – Enables longer riding |
| Wider Tires (25mm to 28mm) | £60-£100 | 2-5 (rolling resistance) | £12-£50 | High – Puncture resistance |
The data from this comparative cost analysis is undeniable. For £300, you could get a professional bike fit and a year’s supply of chain lube, gaining you potentially 20-40 watts of real-world efficiency and drastically reducing your injury risk. Or you could buy the carbon shoes. For the amateur focused on completing a 100-mile ride, the choice should be clear. Invest in comfort, fit, and basic maintenance before you ever consider paying a premium for stiffness.
Arch Support Insoles: Do Custom Moulds Cure « Hot Foot » on 50-Mile Rides?
We’ve identified that « hot foot, » numbness, and general foot pain are the real performance limiters on long rides, not a lack of sole stiffness. One of the primary causes of these issues is an unsupported foot arch. During the pedal stroke, your foot arch naturally wants to collapse under pressure. In a stiff-soled shoe, this collapse is prevented, but the force is concentrated on the bottom of your foot, creating intense pressure points. In fact, scientific testing using pressure sensors revealed an 18% higher peak plantar pressure with carbon shoes compared to more flexible plastic soles. This is the direct cause of that burning « hot foot » sensation.
The solution is not a more flexible shoe, but better internal support. A good insole with proper arch support stabilizes your foot within the shoe, distributing pressure evenly across the entire sole instead of allowing it to concentrate in one spot. This prevents the arch from collapsing, improves alignment of the knee and hip, and dramatically increases comfort. While custom-molded orthotics are the gold standard, even a quality off-the-shelf insole designed for your arch type can be transformative. The first step is to identify your arch type, which you can easily do at home with the « wet test. »
- Preparation: Pour a thin layer of water into a shallow pan. Place a piece of cardboard or a brown paper bag on the floor nearby.
- Wet Your Foot: Step into the pan to get the sole of your bare foot completely wet.
- Make the Imprint: Step normally onto the cardboard, putting your full standing weight on that foot for a moment.
- Analyze the Pattern: Step off and examine the footprint you’ve left behind. The shape will tell you your arch type:
- Flat Arch: You’ll see an almost complete footprint. Your foot makes full contact with the ground, requiring a high-volume, structured insole for support.
- Neutral Arch: You’ll see a distinct curve on the inside of your foot with a clear band connecting your heel and forefoot. A medium-support insole will work best.
- High Arch: The band connecting your heel and forefoot will be very thin, or there might be a complete gap. Your foot is rigid and needs a cushioned, flexible insole to help absorb impact and prevent pressure points.
Investing £40-£50 in a pair of cycling-specific insoles that match your arch type will provide a far greater increase in comfort and sustainable power over 100 miles than a £300 pair of carbon shoes with the flimsy, flat insoles they typically come with. This is the essence of pragmatic equipment choice: solving the real problem, not the one the marketers created.
Before you invest in your next piece of cycling gear, perform this simple cost-benefit analysis. Prioritize a professional bike fit, the right arch support, and simple maintenance over chasing the highest stiffness index on a spec sheet. Your feet—and your 100-mile time—will thank you for it.